
Interior painting can refresh a home quickly, but a professional-looking result depends far more on preparation than on the final coat. Dirty surfaces, loose paint, unfilled damage, incorrect primer, rushed drying, and poor cutting lines remain visible no matter how expensive the paint is.
This guide to interior painting covers planning, surface preparation, products, application, safety, and maintenance. For larger projects, begin with our renovation tips every homeowner should know so painting is coordinated with flooring, cabinetry, trim, electrical work, and other trades.
Plan the Rooms, Colours, and Sequence
List every surface to be painted: ceilings, walls, trim, doors, closets, built-ins, railings, and repaired areas. Confirm what will stay and what will be replaced. Painting before new flooring is often efficient, but final touch-ups may still be required after installations.
Test large colour samples in the actual room. View them beside flooring, counters, furnishings, and trim under natural and artificial light. A colour can appear cooler, warmer, darker, or more saturated as lighting changes.
When painting several rooms, work from ceilings to walls to trim. Complete messy repairs before finish work and coordinate the sequence so dust-producing trades do not return after the final coat.
Choose the Right Sheen
Sheen affects appearance, washability, and how strongly surface defects are revealed. Flat and matte finishes reduce glare and help hide minor imperfections, making them common on ceilings and low-traffic walls. Eggshell and low-sheen finishes provide more washability for living areas. Satin and semi-gloss finishes are often used on trim, doors, kitchens, bathrooms, and other surfaces requiring regular cleaning.
Higher sheen does not automatically mean better. Glossy paint can emphasize uneven drywall, brush marks, and patching. Match the finish to the room, surface condition, cleaning needs, and the manufacturer's recommended use.
Inspect for Moisture, Damage, and Old Coatings
Do not paint over active leaks, recurring condensation, mould, soft drywall, or peeling caused by moisture. Identify and correct the source first. In bathrooms and basements, ventilation and water management are part of the painting project, not separate concerns.
Check for cracks, nail pops, failed caulking, grease, smoke residue, glossy coatings, and loose paint. Determine whether stains need sealing and whether the existing coating is compatible with the new product.
In older Canadian homes, test or obtain professional advice before sanding painted surfaces. Health Canada reports that homes built before 1960 probably contain lead-based paint, and homes built between 1960 and 1990 may contain it. Sanding or heating lead paint can create dangerous dust or fumes.
Prepare the Room Properly
Remove furniture where possible and move remaining pieces to the centre. Take down artwork, curtains, switch plates, vent covers, and removable hardware. Protect floors and fixed items with appropriate coverings.
Clean surfaces before repairing them. Kitchen walls may need degreasing, while trim and doors often collect oils from hands. Follow product directions and never mix cleaning chemicals. Allow surfaces to dry fully.
Scrape only where safe, sand compatible surfaces, fill holes and cracks, repair damaged drywall, and caulk appropriate gaps. Feather patches beyond the damaged area so they do not create visible humps. Remove dust before priming.
Use Primer for a Specific Reason
Primer improves results when surfaces are new, porous, stained, repaired, glossy, significantly darker, or difficult to bond to. New drywall and compound absorb paint differently from existing walls, so spot repairs may flash through the finish unless they are sealed properly.
Choose a primer designed for the substrate and problem. A general drywall primer, bonding primer, stain-blocking primer, masonry product, or wood primer serves a different purpose. Follow the paint manufacturer's compatibility and recoat instructions.
Calculate Paint and Keep Batches Consistent
Measure wall and ceiling areas, subtract only large openings, and compare the result with the coverage listed on the product. Rough, porous, or dramatic colour changes may require more paint. Keep enough for the planned number of coats and future touch-ups.
For large areas, combine cans of the same colour and finish in a larger container when practical. This reduces small batch differences. Label leftover paint with the room, surface, colour code, finish, brand, and date.
Apply Paint With a Consistent System
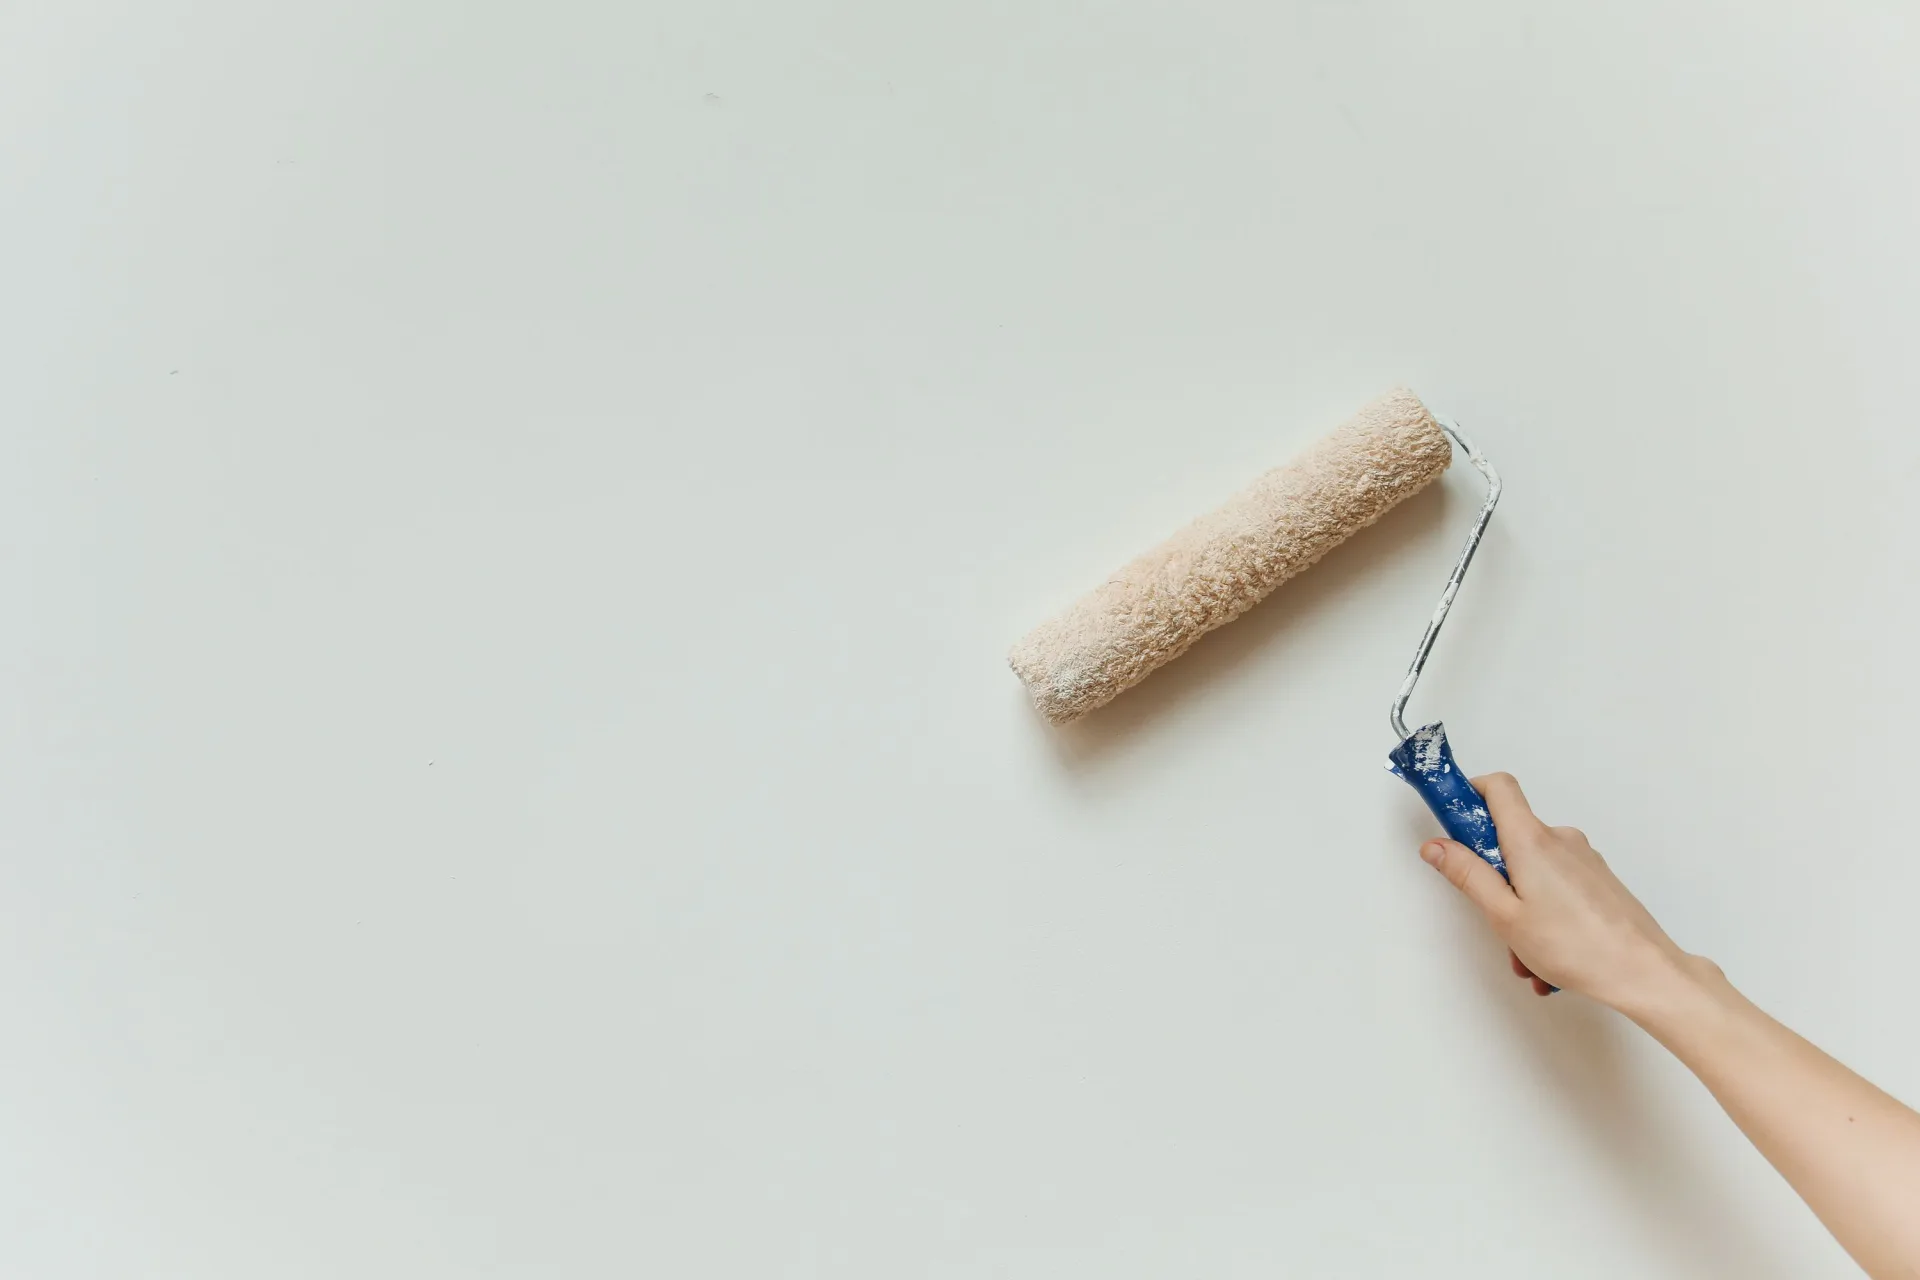
Stir the paint thoroughly. Cut in manageable sections and roll while edges are still wet to reduce lap marks. Maintain a wet edge, use the recommended roller nap, and avoid stretching paint beyond its intended coverage.
Two thin, even coats usually create a more consistent finish than one heavy coat. Respect recoat times, temperature ranges, and humidity guidance. Paint that feels dry to the touch may not be ready for another coat, washing, hardware, or furniture contact.
Use steady lighting while working and inspect walls from several angles. Side light can reveal missed areas, heavy edges, roller lines, and poorly feathered patches.
Ventilate and Control Dust and Fumes
Health Canada recommends opening windows or using exhaust fans to ventilate during and after renovation work. Seal the work area when sanding or creating dust, and keep children, pregnant people, pets, and vulnerable adults away when appropriate.
Low-emission or low-VOC products may reduce emissions, but labels and safety directions still matter. Do not use fans in a way that blows dust into clean rooms or causes paint to dry too quickly on the surface.
Common Interior Painting Mistakes
· Choosing colour from a small chip without testing it in the room.
· Painting over dirt, grease, moisture, or loose coatings.
· Skipping primer on patches, stains, or difficult surfaces.
· Using the wrong sheen for the room or substrate.
· Applying heavy coats or recoating too soon.
· Using poor lighting and missing defects until the room is finished.
· Failing to protect floors, hardware, vents, and adjacent rooms.
· Sanding old paint without considering lead or other hazards.
When to Hire a Professional Painter
Professional help is valuable for high ceilings, stairwells, extensive repairs, cabinets, sprayed finishes, occupied homes requiring strong dust control, tight deadlines, or suspected hazardous coatings. A professional can also coordinate colour, sheen, repairs, protection, and sequencing across a larger renovation.
When requesting a quote, confirm preparation, primer, number of coats, products, surfaces included, protection, repairs, cleanup, and touch-ups. A low price may exclude the work that determines the quality of the finish.
Finish With a Care and Touch-Up Plan
Allow coatings to cure before washing or placing objects against them. Keep labelled touch-up paint and note the tools used, since a brush touch-up can look different from a rolled wall. Repair the cause of recurring stains or peeling rather than repeatedly covering them.
Planning a seasonal project? Read our guide to preparing your home for a summer renovation. For bathrooms, review how to plan a bathroom renovation before selecting moisture-resistant finishes.
DS Quality Solutions provides interior renovation and painting services in London and Surrounding Area. Contact us to request a consultation.