
Home renovations can make a house more comfortable, functional, efficient, and valuable. They can also become stressful when the scope is unclear, decisions are rushed, or hidden problems appear after work begins. The difference between a rewarding renovation and a frustrating one is usually not a single product or design choice. It is the quality of the planning behind the project.
Whether you are updating one room or transforming several areas of your home, the best results come from treating the renovation as a complete process. That means defining what needs to change, setting a realistic budget, understanding permits, choosing the right professionals, preparing for disruption, and making decisions that support the way you actually live.
This guide covers the renovation tips every homeowner should know before signing a contract or removing the first cabinet. It also connects you with detailed guides for summer projects, interior painting, bathroom planning, basement renovations, and the kitchen trends shaping 2026.
1. Start With the Problem, Not the Product
Many renovation plans begin with finishes: a countertop seen online, a paint colour, a tile pattern, or a new appliance. Those choices are important, but they should come after you understand the problem the renovation needs to solve.
Walk through the space and identify what is not working. Is storage too limited? Is the room difficult to clean? Are there drafts, moisture, poor lighting, unsafe stairs, outdated wiring, or a layout that creates bottlenecks? Write down the practical problems before collecting inspiration. This gives your contractor and designer a clearer target and helps prevent attractive upgrades that do not improve daily life.
Create three lists: must-haves, strong preferences, and optional upgrades. When the budget or timeline changes, this simple ranking makes it easier to protect the most important outcomes.
2. Define the Scope Before Requesting Prices
A renovation estimate is only as useful as the scope behind it. If one contractor is pricing a cosmetic refresh and another is pricing new plumbing, electrical work, insulation, and custom cabinetry, the totals cannot be compared fairly.
Document the rooms involved, the work you expect, the items you plan to keep, and anything that may require investigation. Include demolition, disposal, preparation, repairs, fixtures, finishes, installation, inspections, cleanup, and final touch-ups. Ask each contractor to state what is included and excluded.
A detailed scope also reduces assumptions. It gives everyone a shared reference when questions arise and makes change orders easier to evaluate.
3. Build a Budget Around the Whole Project
Homeowners often budget for visible products while underestimating the work required to install them. A complete renovation budget may include design, permits, demolition, waste removal, labour, structural work, plumbing, electrical, ventilation, drywall, flooring, cabinetry, fixtures, painting, taxes, temporary living arrangements, and contingency funds.
Separate the budget into categories instead of treating it as one large number. This helps you see where money is going and where substitutions may be possible. Keep a contingency that is not already assigned to decorative upgrades. Older homes, basements, kitchens, and bathrooms can reveal water damage, unsafe wiring, inadequate framing, or previous work that must be corrected.
Do not select every product at the highest end of the range. Spend more on elements that are difficult to replace, heavily used, or responsible for protecting the home. Save on items that can be upgraded later without opening walls or disrupting major systems.
4. Investigate the Existing Conditions Early
Before finalizing a design, look for evidence of leaks, mould, foundation movement, damaged subfloors, poor ventilation, outdated electrical panels, plumbing corrosion, or insufficient insulation. A beautiful finish will not solve a problem hidden behind it.
Professional inspections and selective exploratory work can feel like an added expense, but they provide information while the project is still flexible. It is easier to adjust a plan before custom products are ordered and crews are scheduled.
Paint in older Canadian homes also deserves care. Health Canada notes that homes built before 1960 probably contain lead-based paint, while homes built between 1960 and 1990 may contain it, especially on exterior surfaces. Disturbing lead paint can create hazardous dust, so testing and professional guidance may be appropriate before sanding or demolition.
5. Confirm Permits, Approvals, and Responsibilities
Permit requirements vary by municipality and by the type of work. Structural changes, new plumbing, electrical work, additions, basement conversions, and changes to exits or occupancy may require approvals. Check with the local building department before work begins.
Ontario consumer guidance states that homeowners are responsible for obtaining building permits and meeting legal requirements unless the contract clearly assigns that task to the contractor. When a contractor is applying on your behalf, the responsibility, fees, inspection process, and permit documents should be written into the agreement.
Condo owners may also need board approval, approved work hours, elevator bookings, insurance documents, and special rules for plumbing or flooring. Add these requirements to the schedule before materials are delivered.
6. Hire for Fit, Not Only for the Lowest Price
The lowest price is not always the lowest final cost. A strong renovation contractor should be able to explain the process, provide a clear written scope, identify likely risks, communicate how changes are handled, and show experience with projects similar to yours.
Ask for references and examples that match your project type. Confirm insurance, relevant licences, warranty terms, payment milestones, who will supervise the site, and which trades will be involved. Pay attention to the quality of the questions the contractor asks. A professional should want to understand the house, the household, access limitations, priorities, and decision deadlines.
Use a written contract. It should identify the parties, property, scope, payment schedule, start expectations, responsibilities, allowances, exclusions, change-order process, cleanup, warranty, and dispute procedure. Avoid large unexplained deposits and do not rely on verbal promises for important details.
7. Make Design Decisions for Real Life
A renovation should look good, but it must also support daily routines. Think about who uses the space, how often it is used, what must be stored, and how needs may change over time. A kitchen for a household that cooks every day needs different work zones than one used mainly for entertaining. A family bathroom needs durable storage and easy cleaning. A basement bedroom needs safe egress and moisture control before decorative finishes.
Measure clearances, door swings, appliance openings, traffic paths, and furniture placement. Plan electrical outlets, charging locations, task lighting, ventilation, and controls before walls are closed. The NKBA planning framework emphasizes clear floor space, functional storage, lighting, ventilation, indoor air quality, code compliance, universal design, and systems coordination for kitchens and bathrooms.
Designing for long-term use does not mean making the home feel clinical. Small choices such as better lighting, wider pathways, lever handles, pull-out storage, nonslip surfaces, and an accessible main-floor washroom can make a home easier to use for everyone.
8. Choose Materials by Performance and Maintenance
A sample may look perfect in a showroom but perform differently in a busy home. Compare products based on water resistance, stain resistance, repairability, cleaning requirements, expected wear, warranty, and installation method.
Ask where each material will be used and what conditions it will face. Bathroom finishes need to tolerate moisture. Entry flooring must handle grit and wet footwear. Kitchen surfaces must withstand heat, spills, and frequent cleaning. Basement materials should be selected only after moisture conditions are understood.
Order samples and view them in the actual room at different times of day. Natural and artificial light can change the appearance of paint, wood, stone, and tile. Confirm dye lots, dimensions, trim pieces, grout, transitions, and lead times before approving an order.
9. Finalize Selections Before Construction Reaches Them
Late decisions create delays. Fixtures may require specific rough-ins, tile thickness can affect finished dimensions, and appliances determine cabinet openings, electrical loads, gas lines, and ventilation needs. A product that is backordered can hold up several trades.
Create a selection schedule that lists every item, supplier, model, colour, quantity, order date, delivery date, and person responsible. Confirm products before the work that depends on them begins. Store approvals, drawings, specifications, and receipts in one shared location.
Avoid changing major finishes in isolation. A new countertop may affect the sink, faucet, backsplash, cabinet support, and electrical layout. Ask what else changes before approving a substitution.
10. Prepare the House for Dust, Noise, and Disruption
Even a well-managed renovation affects the rest of the home. Decide how workers will enter, where materials will be stored, which washroom they may use, where waste containers will sit, and how pets and children will be kept away from hazards.
Remove valuables, fragile objects, window coverings, artwork, and items stored near the work zone. Protect pathways and nearby rooms. Discuss dust barriers, negative air, floor protection, daily cleanup, heating and cooling, and whether the home can remain occupied during the most disruptive phases.
Seasonal planning matters too. Our guide to preparing your home for a summer renovation explains how to manage heat, humidity, outdoor access, neighbours, landscaping, deliveries, and temporary cooling before work begins.
11. Protect Indoor Air Quality and Household Safety
Renovation work can release dust, fibres, odours, and fumes. Health Canada recommends sealing off work areas, using appropriate personal protective equipment, opening windows or using exhaust fans for ventilation, and keeping children, pregnant people, and vulnerable adults away from work zones when possible.
Discuss dust control before demolition. Ask how supply and return vents will be protected, whether HEPA filtration will be used, and how debris will leave the house. After dusty work, clean surfaces with damp methods, use HEPA-filtered equipment where possible, and consider replacing the furnace filter.
Never assume an unfamiliar material is harmless. Older flooring, insulation, textured coatings, pipes, and paint may require testing or specialized handling. When the risk is uncertain, stop and identify the material before disturbing it.
12. Communicate Through a Consistent Process
Renovations involve hundreds of small decisions. Choose one main contact for the household and one for the contractor. Agree on how often updates will be provided, where questions will be recorded, and who can approve changes.
Use written change orders for anything that affects price, scope, product, or schedule. The document should explain the change, cost, schedule impact, and approval. This protects both sides and prevents a collection of informal requests from becoming a surprise invoice.
Schedule regular walkthroughs at meaningful milestones: after demolition, before walls close, when cabinets or tile layouts are set, and before final completion. It is easier to correct a concern while the relevant trade is still on site.
13. Know What to DIY and What to Leave to Specialists
Painting, simple demolition, hardware installation, and cleanup may be suitable for some experienced homeowners. Structural changes, panel work, new circuits, gas, complex plumbing, waterproofing, foundation repairs, asbestos or lead hazards, and work requiring permits generally call for qualified professionals.
DIY work must still fit the project schedule and meet the same quality and safety requirements. A weekend task that takes several weeks can delay other trades. Clarify who supplies materials, who prepares the surface, who corrects defects, and whether homeowner work affects the contractor's warranty.
For painting specifically, preparation determines most of the final quality. Our complete guide to interior painting covers surface repairs, primer, sheen, application order, ventilation, and situations where professional help makes sense.
14. Plan Kitchens, Bathrooms, and Basements Around Their Risks
Kitchen renovations
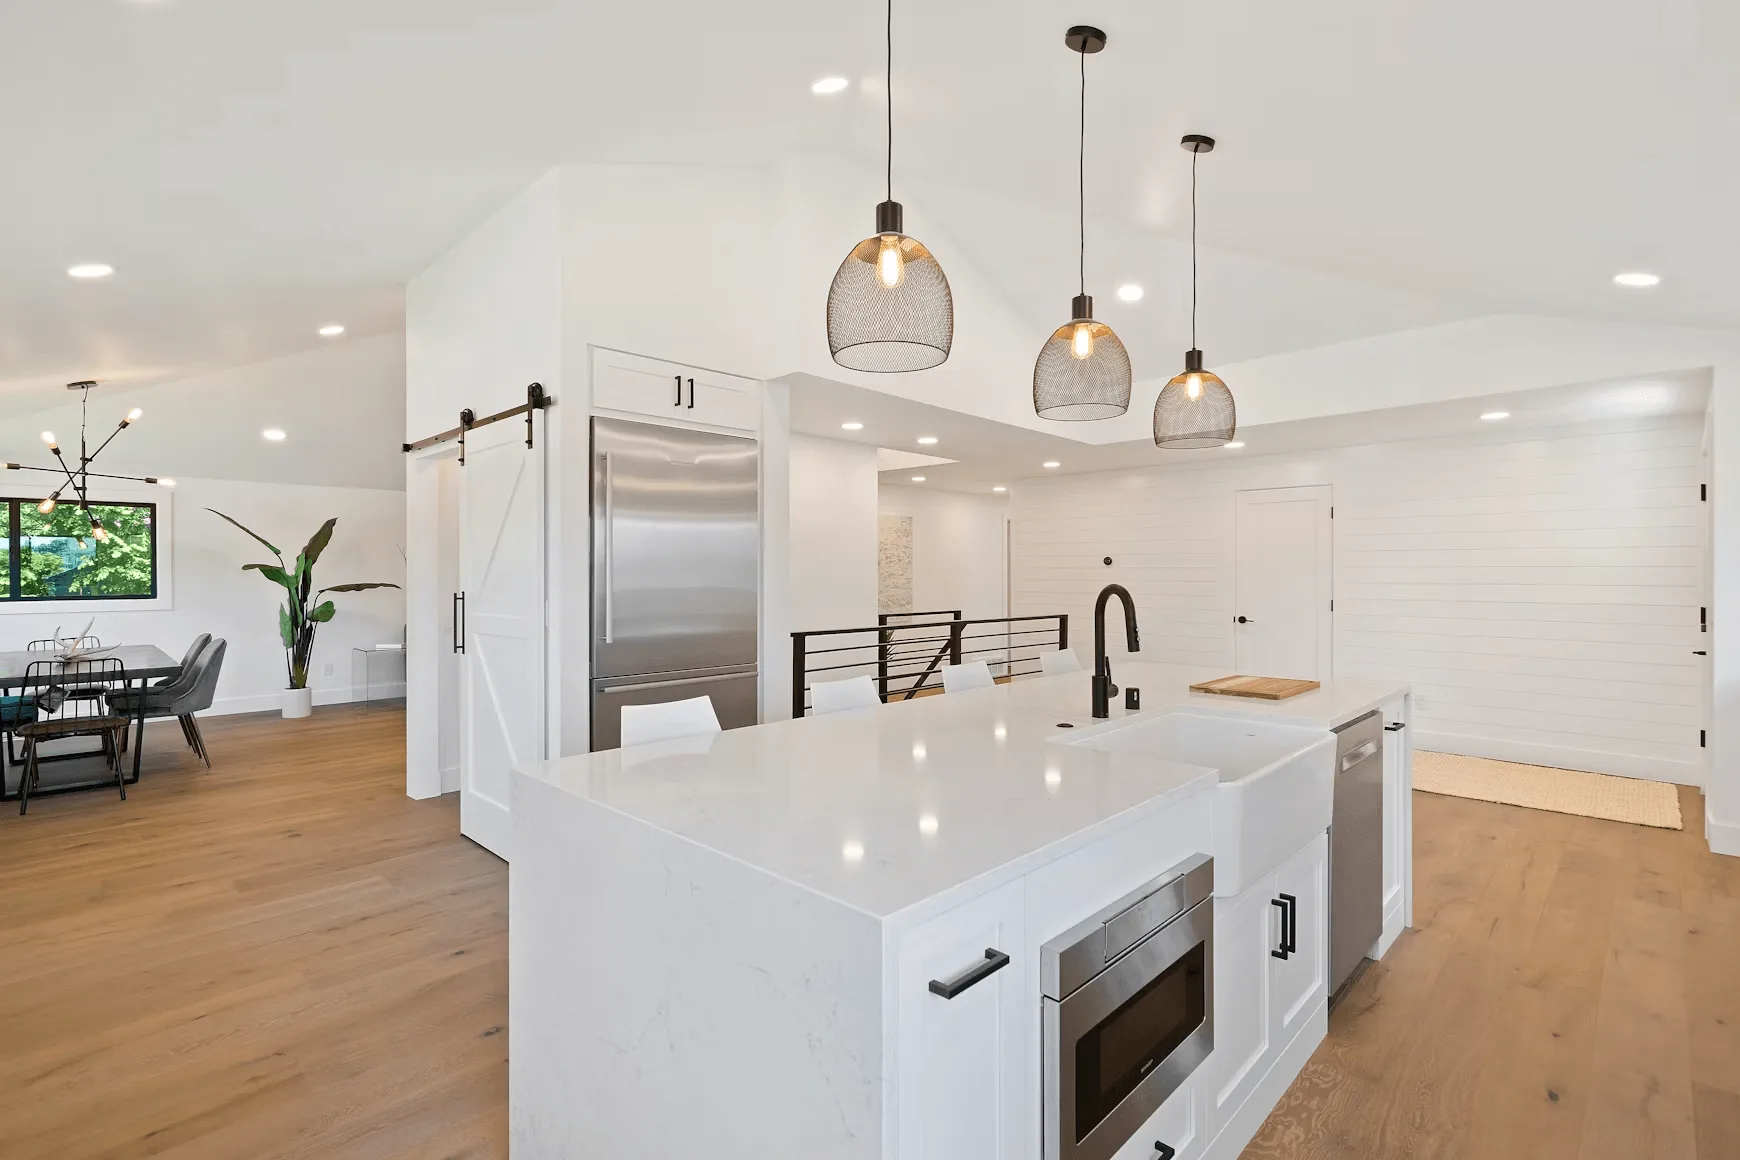
Kitchen projects combine cabinetry, appliances, plumbing, electrical, ventilation, lighting, flooring, and detailed dimensions. Prioritize workflow and storage before selecting statement finishes. The leading kitchen renovation trends for 2026 focus on warmer natural materials, better lighting, intelligent storage, accessible features, and layouts that improve function without necessarily expanding the room.
Bathroom renovations
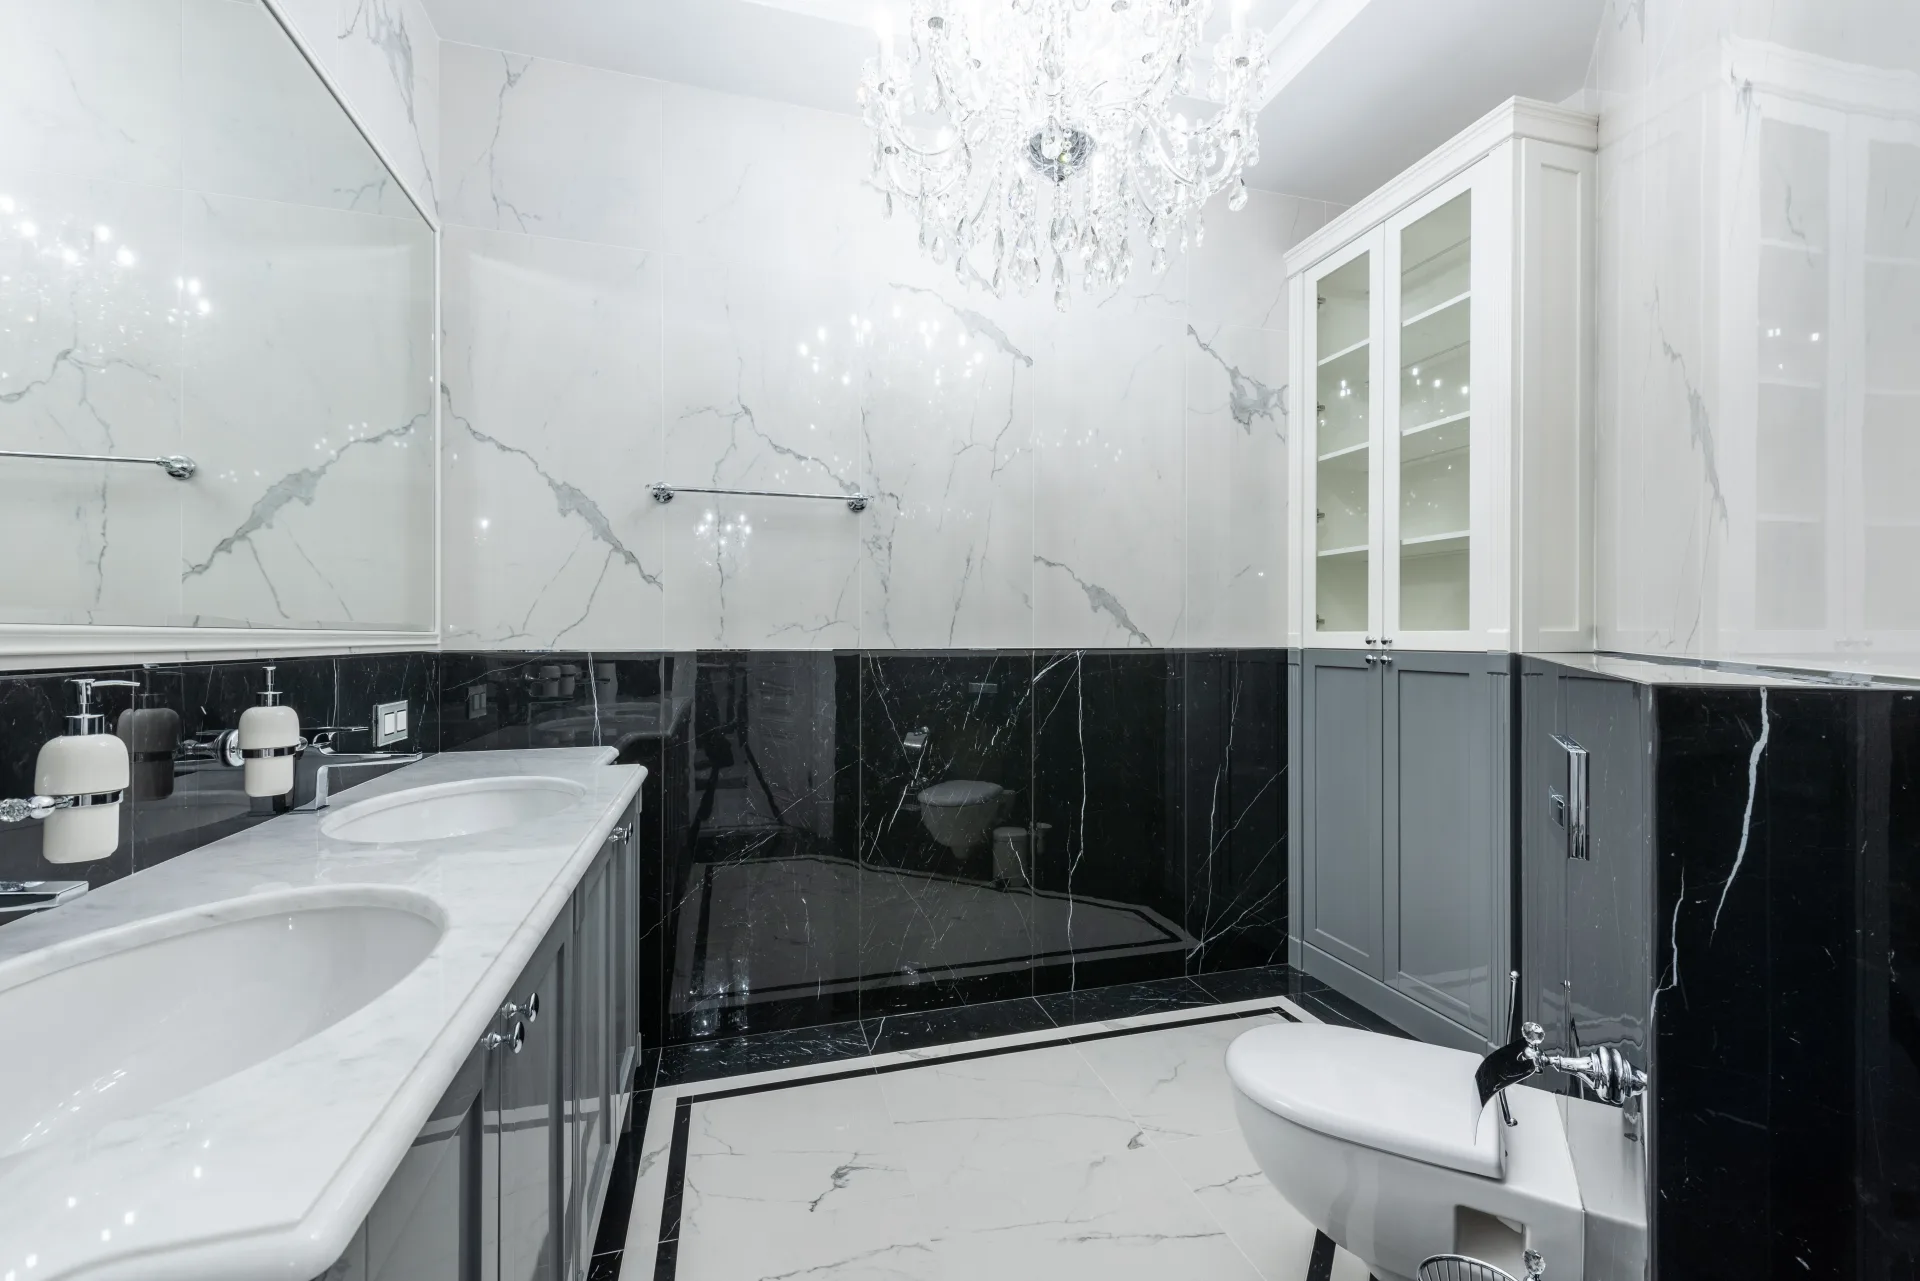
Bathrooms depend on correct waterproofing, drainage, ventilation, clearances, and durable finishes. Start with the existing plumbing and structural conditions, then build the layout around the people who use the room. Our guide on how to plan a bathroom renovation walks through goals, budget, layout, materials, lighting, ventilation, and sequencing.
Basement renovations
Basements should never be finished over unresolved moisture or structural problems. Musty odours, visible staining, recurring dampness, cracks, damaged finishes, or outdated systems can indicate that cosmetic work is not enough. Review the five signs your basement needs a professional renovation before covering walls or installing new flooring.
15. Complete a Detailed Final Walkthrough
Near completion, inspect the project in daylight and with all installed lighting turned on. Test doors, drawers, locks, outlets, switches, plumbing fixtures, fans, appliances, heating controls, and safety devices. Look at paint, caulking, grout, flooring transitions, trim, cabinet alignment, and sealant.
Create one written deficiency list with photos and room locations. Agree on completion dates and access. Collect warranties, manuals, paint colours, spare tile, permits, inspection records, drawings, and care instructions before making the final payment required by the contract.
A renovation is easier to maintain when you understand the materials and systems that were installed. Record recommended cleaning products, resealing intervals, filter sizes, shutoff locations, and supplier details.
Renovation Checklist for Homeowners
· Define the problems the renovation must solve.
· Separate must-haves from optional upgrades.
· Document the full scope before comparing estimates.
· Build a category-based budget and protect a contingency.
· Investigate moisture, structure, plumbing, electrical, ventilation, and hazardous materials.
· Confirm permits, approvals, and who is responsible for obtaining them.
· Use a clear written contract and written change orders.
· Finalize products early and track lead times.
· Prepare the household for dust, noise, access changes, and temporary loss of rooms.
· Inspect the work at milestones and complete a final walkthrough.
Frequently Asked Questions
What should I do first when planning a home renovation?
Start by defining the practical problems you want the renovation to solve. Then document the scope, establish a budget, investigate existing conditions, and speak with qualified professionals before choosing finishes.
How can I prevent my renovation budget from growing?
Use a detailed scope, make selections early, keep a separate contingency, investigate hidden conditions, and require written approval for changes. Unclear assumptions and late decisions are common causes of budget growth.
Do I need a building permit for a renovation?
It depends on the work and your municipality. Structural, plumbing, electrical, addition, basement-conversion, and occupancy changes commonly require approvals. Confirm requirements with the local building department before construction.
Can I live in my home during a renovation?
Often yes, but it depends on the rooms affected, dust control, utility shutdowns, safety, and the household. Kitchens, only bathrooms, major demolition, or hazardous-material work may make temporary accommodation the safer and more practical choice.
Plan the Renovation Before the Renovation Plans You
A strong renovation is not defined only by new finishes. It is defined by a clear goal, informed decisions, realistic expectations, and work that protects the home for years to come. Taking time to plan the scope, budget, safety, approvals, materials, and communication process gives your project a far better chance of finishing well.
DS Quality Solutions helps homeowners in Southwestern Ontario region plan and complete renovations with clear scopes, professional coordination, and workmanship built for daily life. Contact us to discuss your project.