
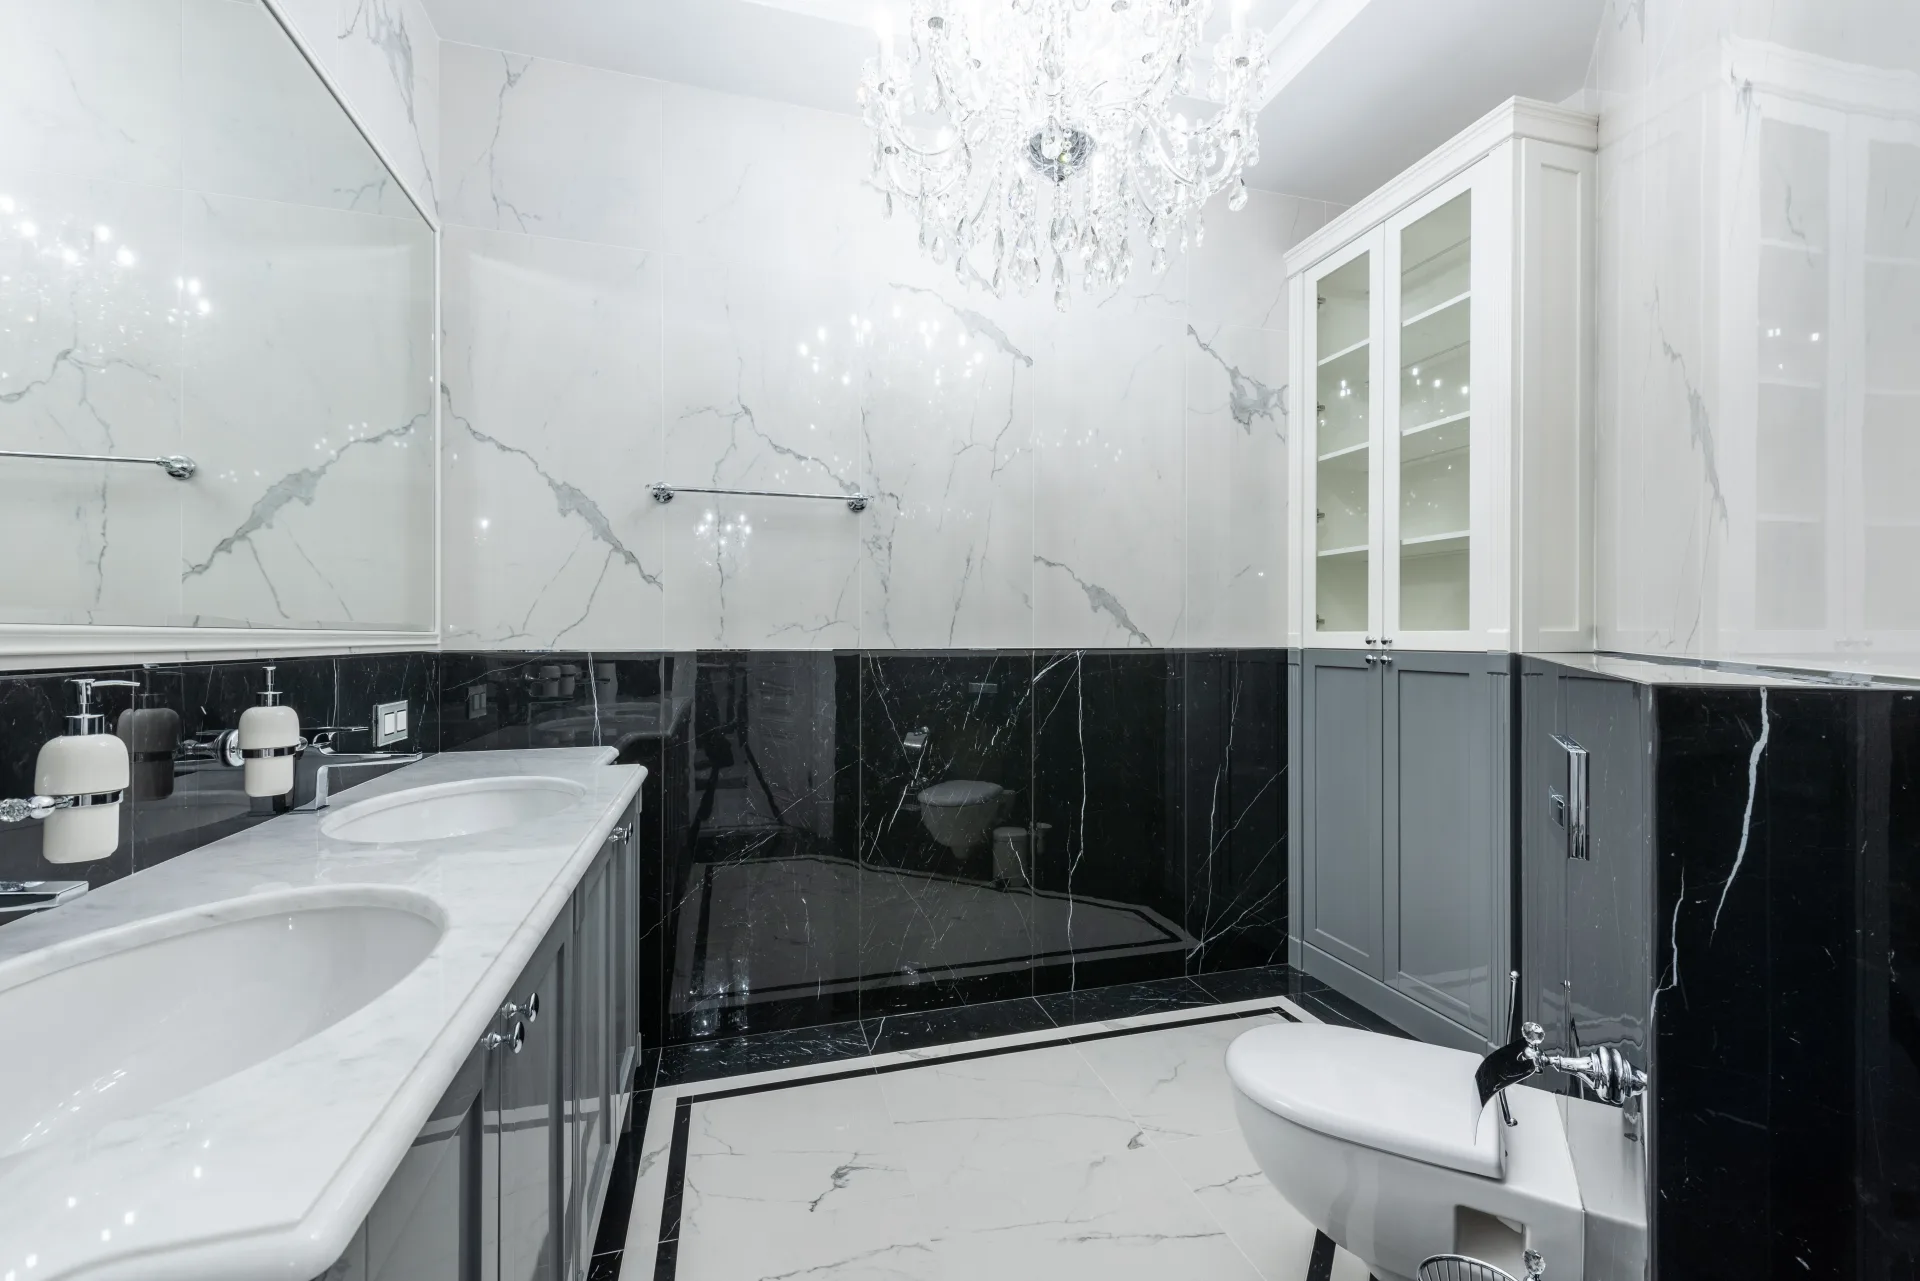
Bathrooms are small rooms with a high concentration of important systems. Plumbing, drainage, waterproofing, ventilation, electrical work, lighting, storage, heating, tile, fixtures, and clearances must all work together. A decision that appears decorative can affect wall framing, rough-ins, floor height, or the construction schedule.
The best way to plan a bathroom renovation is to make decisions in the correct order: goals first, existing conditions second, layout and systems third, and finishes after the technical plan is stable. Use this guide with our renovation tips every homeowner should know for contracts, budgeting, permits, and project preparation.
1. Define Who the Bathroom Must Serve
Start with the users and routines. A primary ensuite, family bathroom, powder room, and accessible bathroom have different needs. List the number of users, morning conflicts, storage needs, bathing preferences, cleaning priorities, and any mobility concerns.
Decide what success means. You may need more counter space, a larger shower, a tub for children, better lighting, quieter ventilation, easier cleaning, safer flooring, or a layout that allows two people to use the room at once.
2. Assess the Existing Room Before Designing
Inspect for leaks, soft flooring, cracked grout, staining, mould, poor ventilation, slow drains, loose fixtures, uneven walls, and electrical limitations. Determine whether previous work was completed correctly and whether plumbing can remain in place.
Moving fixtures can improve a layout, but it may also require changes to drains, vents, joists, supply lines, and ceilings below. Ask a qualified professional to assess the structure and services before committing to a plan.
3. Establish a Complete Budget
Separate labour, design, permits, demolition, disposal, plumbing, electrical, ventilation, framing, waterproofing, tile, flooring, cabinetry, counters, fixtures, glass, painting, accessories, and contingency. Include taxes and temporary arrangements if the bathroom will be unavailable.
Prioritize work that protects the room: plumbing, drainage, waterproofing, ventilation, electrical safety, and durable installation. Decorative upgrades can be adjusted more easily than hidden systems.
4. Confirm Permits and Professional Requirements
Permit requirements depend on the municipality and the work involved. New plumbing, structural changes, electrical work, relocated fixtures, enlarged windows, or changes to room use may require approvals and inspections. Confirm this before demolition.
Use qualified trades for regulated work and state in the contract who will apply for permits, schedule inspections, and provide final documentation.
5. Build the Layout Around Clearances and Movement
Measure the room carefully, including wall thickness, doors, windows, ceiling slopes, plumbing stacks, ducts, and adjacent spaces. Draw the door swing and the operating space required for drawers, cabinets, shower doors, and cleaning.
The NKBA planning framework highlights clear floor spaces, doorways, fixture planning, functional storage, lighting, indoor air quality, ventilation, systems coordination, universal design, and code compliance. A bathroom should be comfortable to move through, not merely capable of fitting the fixtures on paper.
Consider long-term usability. A curbless or low-threshold shower, blocking for future grab bars, a handheld shower, lever handles, brighter lighting, nonslip flooring, and an accessible-height vanity can improve everyday comfort without making the room look institutional.
6. Decide Which Plumbing Locations Can Stay
Keeping the toilet, shower, tub, and vanity near existing plumbing can reduce complexity, but it should not preserve a poor layout automatically. Compare the practical benefit of moving fixtures with the cost and structural impact.
Choose fixtures early enough for rough-in dimensions to be confirmed. Wall-mounted faucets, in-wall tanks, freestanding tubs, body sprays, linear drains, and custom shower systems can require specialized framing, valves, access panels, and waterproofing details.
7. Treat Waterproofing as a System
Tile and grout are finish materials, not the entire waterproofing strategy. Showers and wet areas require a compatible system that coordinates the substrate, membrane, corners, penetrations, drain, slope, curb, bench, niche, and transitions.
Ask which system will be used, who is responsible for installing it, and how it will be inspected or tested before tile. Avoid mixing products without confirming compatibility and warranty requirements.
8. Plan Ventilation, Heating, and Indoor Air Quality
A bathroom fan should remove moisture effectively and exhaust outdoors. Plan the fan location, duct route, control, noise level, and make-up air. A powerful fan with a poor duct route may still underperform.
Consider floor heat, towel warmers, supply-air placement, and comfort near windows. Coordinate these systems before tile and electrical work. During construction, use ventilation and dust control, and follow product safety directions.
9. Layer the Lighting
One ceiling fixture rarely provides good bathroom lighting. Combine general lighting with task lighting at the mirror and suitable lighting in the shower or tub area. Avoid placing the only vanity light directly overhead, where it can create strong facial shadows.
Choose fixtures rated for their location and coordinate switches, dimmers, night lighting, fan controls, and outlet placement. Lighting should be planned before framing and wiring are complete.
10. Design Storage at the Point of Use
List what must be stored and where it is used. Daily grooming items belong near the vanity, bathing products near the shower or tub, towels within reach, and cleaning supplies in a safe, ventilated location.
Drawers often provide easier access than deep lower cabinets. Recessed medicine cabinets, tall storage, vanity organizers, shower niches, and hooks can add capacity without crowding the room. Confirm niche dimensions against tile layouts and product bottles before construction.
11. Choose Finishes for Water, Cleaning, and Slip Resistance
Select flooring, tile, grout, counters, cabinetry, paint, and hardware based on maintenance as well as appearance. Smaller shower-floor tile may provide more grout joints and grip, while large-format wall tile can reduce grout lines. Product suitability and installation details matter more than size alone.
Use bathroom-appropriate paint and ensure surfaces are dry, repaired, and primed correctly. Our complete guide to interior painting explains preparation, sheen, primer, and ventilation.
12. Finalize Products Before Rough-In
The contractor needs specifications for the tub, shower valve, drain, toilet, vanity, faucets, mirror, lighting, fan, accessories, glass, and tile before related work begins. A change in one item can affect framing, plumbing, electrical, blocking, and finished dimensions.
Track model numbers, dimensions, finishes, delivery dates, and warranties. Inspect products when they arrive so damage or missing parts are found before installation day.
Bathroom Renovation Planning Checklist
· Define users, routines, storage needs, and accessibility goals.
· Inspect leaks, ventilation, drains, flooring, walls, and existing services.
· Create a complete category-based budget with contingency.
· Confirm permits, inspections, and qualified trades.
· Finalize the layout using real fixture dimensions and clearances.
· Coordinate plumbing, framing, waterproofing, ventilation, electrical, and lighting.
· Choose finishes for durability, cleaning, and wet-area performance.
· Order long-lead products and verify them before rough-in.
· Plan temporary bathroom access during construction.
· Complete a final test of drains, fixtures, fans, lights, heat, caulking, and seals.
Build the Technical Plan Before Choosing the Final Tile
A bathroom looks finished only because the work behind the finishes was planned correctly. Give plumbing, waterproofing, ventilation, electrical safety, clearances, and storage the same attention as tile and fixtures.
DS Quality Solutions designs and renovates bathrooms throughout London and Surrounding Area. Contact us to begin planning your project.